

So lately on Pintrest I have been seeing all of these cute tank tops that make me want summer here so badly! Then I stumbled across these two little gems:
and this one:
I will be doing the Ombre one probably this weekend!
This is the thrift store one!
So all you need is an old tee like I used from my swimming days, scissors, a pencil, either a sewing machine or needle and thread.

Super easy!
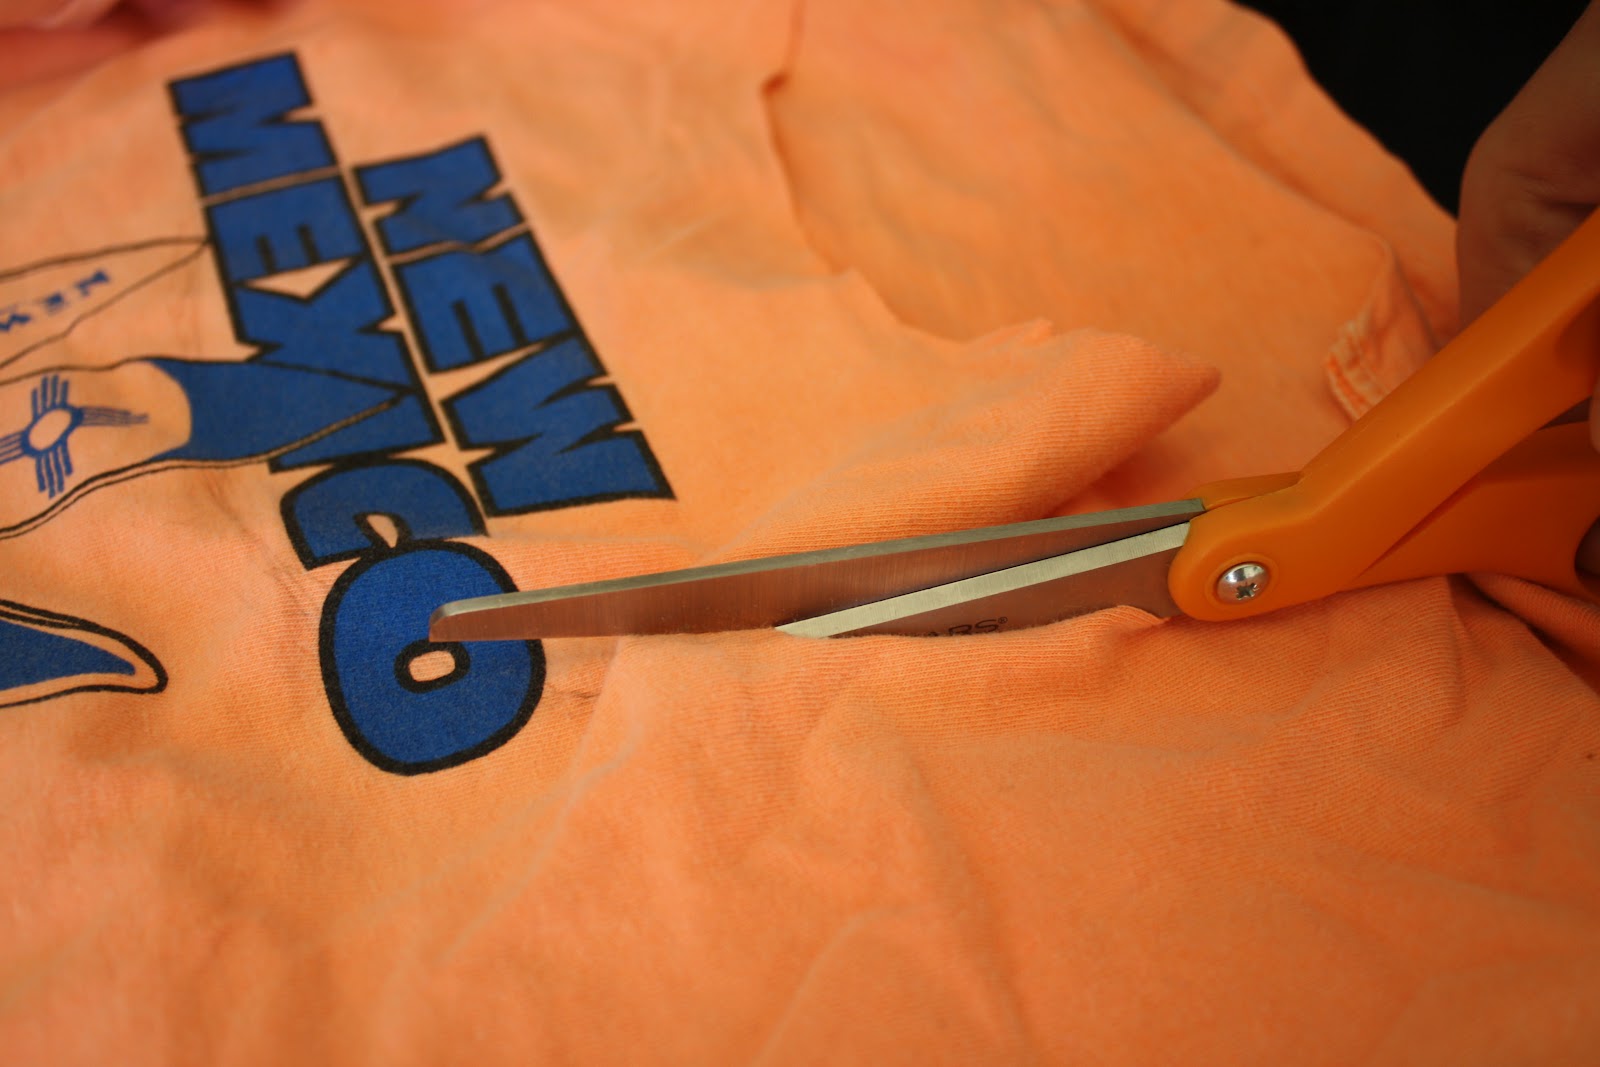
Start out by cutting out the neckline- doesn't matter how ugly this cut is, the one that will matter is when you make the new neckline (or chest line in my case).


Next up is to draw the new area of where you would like it to drop to. A few tips here,
- always remember that you can cut more if you need to!!!!!! You can't add more if you took too much out!
- Keep in mind that the straps will be pulled back gently in a gathered loop type thing which will pull the neckline slightly up.
- I tried mine on and using my finger as a reference as to where I wanted the lowest point multiple times so that I was sure. It NEVER hurts to double check... except if you think a bomb might go off...


Get cutting!!!! CAREFULLY! Use smooth cuts so it isn't jagged because you will end up having to go lower to even it out and then it will be ruined.
Then try it on to make sure it is the way you want it!


Then try it on again and get a feel for how wide you want your straps to be, using your pencil, just make a really light outline. Then take the shirt off and lay it out again and finish drawing the line from the furthest out you want the thickness to be to the "armpit" of the shirt. CAREFULLY CUT!
I had to touch up a little but I barely cut anything off.


This is where I strayed away from the link's instructions. I cut a "back line", or in other words, a neckline for the back. It wasn't as deep as the front but doing that eliminates some of the fabric that will be bunched up. Totally optional. Still looks great without that step.
-It doesn't have to be clean at all. Remember: it will be bunched up with the piece of fabric you will cut out of the leftover sleeve.

Then take your leftover sleeve and cut it along the hemline so it will lay flat.
Then take your pencil and draw a chunk of fabric that is right above the hemline because you will be using the hemline to add stability in a sense for this part of the shirt.
You might think that you need a lot of fabric for this step but just remember that you will be bunching together FABRIC. Not thick fabric, just cotton. It will require a lot less than you think. I used about 7 inches long and about 2 inches thick. Yet again, the thickness of this strip depends on how you want the look.


Once that is cut out, take the cut side of the length and fold it over just a tad, you can use pins or whatever to hold it in place, I used paper clips!

Then take the hemmed side and fold it almost to the edge of the folded cotton but not quite. We will be sewing those to parts together to make our back piece and you don't want already previously hemmed or cut cotton showing.

"Pin" that together and then you're ready to wrap it around the back straps.

Then you take the strip and you wrap it around the two straps that you have in your hand.


Then sew those together, I apologize for mine looking awful but I don't have a sewing machine and I was in a hurry!


Then cut the extra folds off right after the seem line.


There ya go! Looks fantastic!
will be trying this! thanks for the pics ;)
ReplyDeletehttp://natgal77.blogspot.com/
SO glad I came across your blog today!!! :)
ReplyDeleteLove it!!!
xoxo
kellan @ kellanmorris.blogspot.com
Cute!
ReplyDeleteLOVE the sewing of the folded racerback piece - it just looks more clean and professional than similar DIY's wrapping extra fabric around.
ReplyDelete